Double Side Printing Word For Mac 2011
Print panel on Word 2011 on Imac does NOT offer the choice of 2 sided printing. That was the whole point of the work around of saving the pdf and printing from Preview. I saw that many other people were not able to get Word to print 2 sided from Imac.
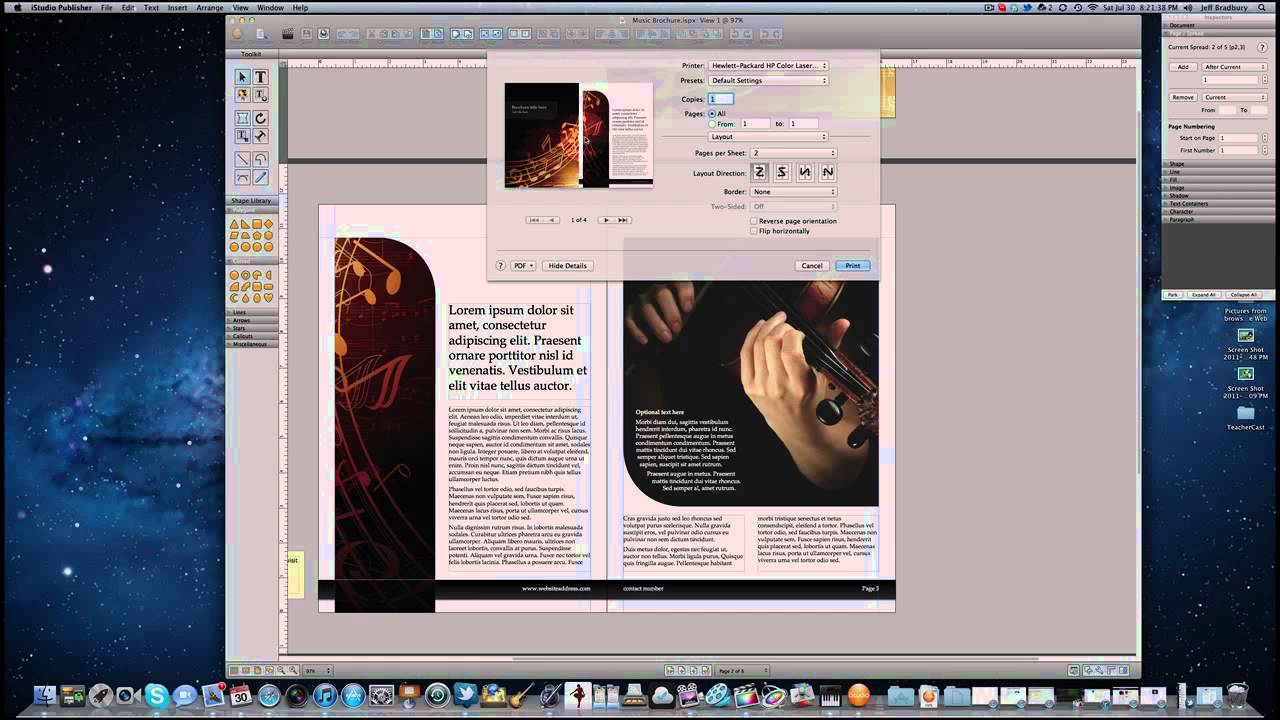
Set options for the current print job in the Print dialog box. • Select a connected printer from the Printer drop-down list. • Specify the number of copies and range of pages to print. The Selection option for Pages is only available if you preselected part of the document in Step 2. • Optional: To alter Page Setup options (paper size, orientation, and paper feed method), click the Page Setup button.
• Optional: To set Word-specific options, choose Microsoft Word from the drop-down menu. In the Microsoft Word section of the dialog box (), choose an option from the Print What drop-down menu. If you're doing two-sided printing, you can also elect to print just the odd or even pages. Choose Copies & Pages from the drop-down menu to return to the main Print dialog box screen. TIPs • You can preview a document printout onscreen by choosing File > Print Preview. It's often a good idea to request a print preview prior to printing. You can use it to ensure that page breaks, margins, and the like are as you expect.
• To print the complete document using the current print settings, click the Print icon on the Standard toolbar. Printing commences immediately—without displaying the Print dialog box. • If you save a document after printing it, the print settings are saved, too. This makes it easy for you to repeat a complex print job.
• To share a Word document with a friend or colleague who doesn't have Word, click the Save As PDF button rather than Print. A cross-platform PDF file will be generated that can be opened in Preview or Adobe Reader. The recipient will be able to read the document onscreen and print it, if desired.
I have a macbook air (2013) and a Canon 8350 all in one laser printer.it ALWAYS defaults to two sided printing and I NEVER want to print two sided as I print for business and have no use for it.I often forget to uncheck it and thus end up wasting paper and ink. I have looked through all the settings and cannot figure out how to get it to NOT default to two sided printing. I know I can save the settings, however it doesn't default to that new profile, so I would have to select the profile every time to change it, which makes no sense as a solution (I still have to remember to do it EVERY TIME).
Anyone know of a way to stop this behavior? You can change the default via CUPS, which is the core printing system of OS X. Open Safari and enter the following URL By default on 10.8, access to the CUPS page is blocked.
To enable it, open Terminal and type 'sudo cupsctl WebInterface=yes' (without the quotation marks). Enter the admin password when prompted and then refresh the Safari view. With the CUPS web page open, select the Printers tab and then select the printer you want to modify. Then from the Administration drop menu, change to 'Set Default Options'.
This will show a new page with four menu headings (links); Options Installed, General, Banners and Policies. Select General.
Scroll down the list until you see the Print Style menu. Change it from 2 Sided to 1 Sided and then scroll down the page until you see the Set Default Options button.
Click on this button to save the change. You will then be prompted to authenitcate to CUPS. Enter the account name and password that has been set as the admin for this Mac. And then press the Log In button. You will then see another page stating that the information change is completed. You can now check that the change has been successful by selecting to print this page from Safari. With the correct printer selected, change to the relevant menu to ensure your modification has worked.
You can change the default via CUPS, which is the core printing system of OS X. Open Safari and enter the following URL By default on 10.8, access to the CUPS page is blocked. To enable it, open Terminal and type 'sudo cupsctl WebInterface=yes' (without the quotation marks). Enter the admin password when prompted and then refresh the Safari view. With the CUPS web page open, select the Printers tab and then select the printer you want to modify.
Then from the Administration drop menu, change to 'Set Default Options'. This will show a new page with four menu headings (links); Options Installed, General, Banners and Policies. Select General. Scroll down the list until you see the Print Style menu.
Change it from 2 Sided to 1 Sided and then scroll down the page until you see the Set Default Options button. Click on this button to save the change. You will then be prompted to authenitcate to CUPS.
Enter the account name and password that has been set as the admin for this Mac. And then press the Log In button. You will then see another page stating that the information change is completed. You can now check that the change has been successful by selecting to print this page from Safari. With the correct printer selected, change to the relevant menu to ensure your modification has worked. Apple Footer • This site contains user submitted content, comments and opinions and is for informational purposes only.
Exit Lync 2011. Mac microsoft asks for \login\ keychain.