How To Choose Outgoing Mail Server On Mac For Gmail
Most email providers let you choose between two ways to get your messages. You can have a POP (Post Office Protocol) account that downloads all your messages to your Mac, iPhone or iPad. Or, you can have an IMAP (Internet Message Access Protocol) account that leaves some or all of your messages up on the mail server so you can access them from any device. For example, with a POP account, if you check email on your iPhone, the messages downloaded there will only be there; when you get back to your Mac, you won’t see them in your inbox. With IMAP, they’ll be on all your devices. If you’ve been using a POP account, but, you can usually convert your account to IMAP. Most hosting companies and providers offer both options.

However, making this conversion requires that you take precautions so you don’t lose any messages. Nitro pdf free download for mac. Here’s how to make the switch safely: 1. Check with your email host If you manage your email account yourself, check on your hosting company’s dashboard to make sure you can use IMAP.
(It’s very rare that this is not available.) If you get email through your business or school, check with the IT department. Find out what settings you will need to access your email as an IMAP account, and whether anything needs to be changed on the server side. If you use Gmail, will tell you how to change your Gmail account from POP to IMAP. (You have to enable IMAP on the Gmail website.) 2.
Set up IMAP and change your SMTP settings to read Gmail messages in other mail clients, like Microsoft Outlook and Apple Mail. When you use IMAP, you can. To make Apple Mail work, it’s necessary to configure an outgoing mail server, that is to enter in the default Mac client the right parameters of the SMTP server you are using.This way Apple Mail will be able to correcty deliver your messages. Just remember that only a professional outgoing mail server will guarantee the highest delivery rate for your emails: in fact, normal SMTP servers like.
Protect the message you’ve already downloaded To avoid any potential disasters, save all the messages you have on your Mac to a different mailbox before you convert to IMAP.IMAP stores some or all of your email on the mail server. The problem is, this means that any folders that are on your Mac may get overwritten, or deleted, if you don’t save their messages before making the switch.
So, in Mail, choose Mailbox -> New Mailbox, and, with the location as On My Mac, create a new mailbox. Call it something like My Old Inbox. When you’ve done this, move all the messages currently in your Inbox to this folder. Do the same for your Sent Mail folder, and any Drafts you may have. Once this is done, you can change the settings for your email account. Find your IMAP settings Either your hosting company, your IT department, or your email provider will provide the settings you need to switch your account over to IMAP. For example, for Gmail, you will need to know the new Incoming Mail Server ( imap.gmail.com), but your outgoing mail server won’t change.
In most cases, you will just need to change the prefix in the Incoming Mail Server setting from pop to imap. Write these down. You'll need them in Step 5.
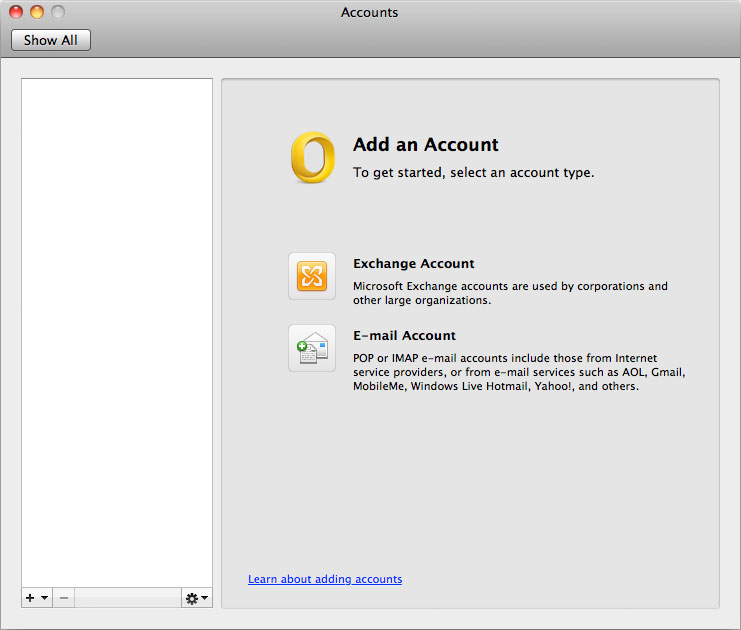
Disable your POP account In Mail, choose Preferences -> Accounts, click on the name of your POP account, then on Advanced, then uncheck Enable this account. Create a new IMAP email account In Mail, you can’t change an email account from POP to IMAP. Instead, you need to create a new account. Choose File -> Add Account, and enter the information that you obtained in step 3 above. To switch your email over to IMAP, you need to create a new account using the settings you've collected.
Check your email If you entered the correct information, your new IMAP account should work right away. You will see an Inbox folder that is on the email server. Copy the messages you stored in your old inbox folder in step 2 to that folder, and they will be copied to your email server, so they will now be accessible from all your devices.