Shortcut For Rotating Picture In Word Mac
Word Shortcut Keys: Keys for Working with Objects Word 2003 Shortcut Keys [] [] [] [] [] [] [] [] [] [] [] [] [] Keys for Working with Objects All shortcut keys are based on the U.S. Keyboard layout. Keys on other layouts may not correspond exactly to the keys on a U.S. For keyboard shortcuts in which you press two or more keys together, the keys to press are separated by a plus sign, like this: SHIFT+F10. Sai tool for mac. For shortcuts in which you press keys one after the other, the keys to press are separated by a comma, like this: ALT, F, X.
Keystrokes for Inserting and Editing Objects Inserting Objects • Use the keyboard to open the Object dialog box (Insert menu): ALT, I, O. • Use the DOWN ARROW key to select an object. • Press ENTER.
3-D Rotation (Word 2007 & up) Right-click on the image and select 'Format Picture'. You will see a new panel open up either on the right side of the window or on the top of the window. Select '3-D Rotation'. Select a preset. Manually enter in the degrees.
Editing Objects • With the insertion point to the left of the object in your document, select the object by pressing SHIFT+RIGHT ARROW. • Press SHIFT+F10. • Tab to Object name Object. • Press ENTER. • Press ENTER again. Keystrokes for Inserting and Selecting Drawing Objects Inserting AutoShapes • Use the keyboard to show the Drawing toolbar if it is not showing (here's how): • Press ALT, V, T. • Use the arrow keys to select Drawing.
• Press ENTER. • Press ALT+U to choose AutoShape on the Drawing toolbar.
• Use the arrow keys to move through the categories of AutoShapes and select the AutoShape you want. Remote desktop for mac. • Press CTRL+ENTER.
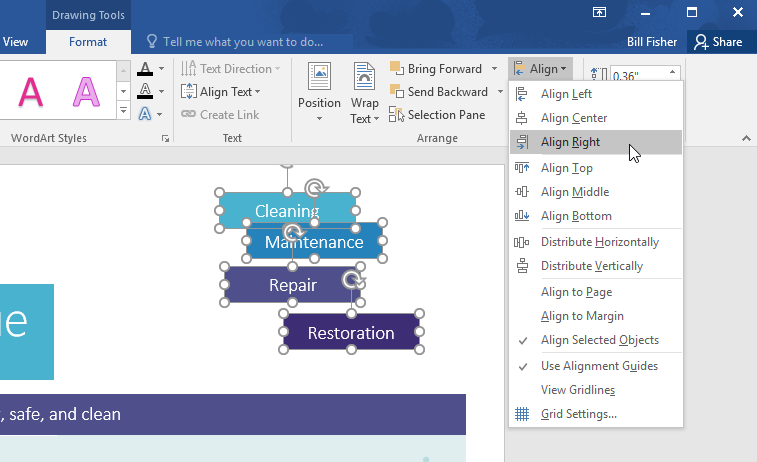
Note: To edit the AutoShape, select the AutoShape, and then use the keyboard to choose AutoShape on the Format menu. Select the options you want on the available tabs. Inserting Text Boxes • Use the keyboard to select Text Box on the Insert menu: ALT, I, X. • Use the right arrow key to open the submenu, select either Horizontal or Vertical, and then press CTRL+ENTER.

• Type the text you want in the text box. • When you are finished typing and want to switch back to editing text in your document, press SHIFT+F10, choose Exit Edit Text on the shortcut menu, and then press ESC.
Note: To format the text box (add a fill color or change the size, for example), select the text box, choose Text Box on the Format menu, and then select the options you want on the available tabs. Inserting WordArt • Use the keyboard to choose WordArt (Insert menu, Picture submenu): ALT, I, P, W. • Use the arrow keys to select the WordArt style you want, and then press ENTER. • Type the text you want, and then use the TAB key to select other options in the dialog box. • Press ENTER to insert the WordArt drawing object.
Note: To edit the WordArt drawing object, select the object, choose WordArt on the Format menu, and then select the options you want on the available tabs. Selecting Drawing Objects If the insertion point is within text in your document • Press F10 to make the menu bar active. • Press CTRL+TAB until the Drawing toolbar is active. • Press the RIGHT ARROW key to choose Select Objects. • Press CTRL+ENTER to select the first drawing object. • Press the TAB key to cycle forward (or SHIFT+TAB to cycle backward) through the objects until sizing handles appear on the object you want to select. If the insertion point is within text in a drawing object • Press SHIFT+F10, and then use the keyboard to choose Exit Edit Text on the shortcut menu.
• Press the TAB key to cycle forward (or SHIFT+TAB to cycle backward) through the objects until sizing handles appear on the object you want to select. Note: To switch from selecting objects back to editing text in your document, press ESC. Keystrokes for Editing Drawing Objects Rotating Drawing Objects • Select the drawing object you want to rotate. • Use the keyboard to choose the command for the type of object you selected — for example, on the Format menu, choose AutoShape or Text Box — and then select the Size tab.
• Under Size and rotate, use the TAB key to select Rotation, and then type the amount of rotation you want. Changing the Position of Drawing Objects • Select the drawing object you want to change. • Use the keyboard to choose the command for the type of object you selected — for example, on the Format menu, choose AutoShape or Text Box — and then select the Layout tab. • Select the options you want. Tip: You can nudge the selected object up, down, left, or right by holding down CTRL and pressing arrow keys. Changing the Size of Drawing Objects • Select the drawing object you want to change.
• Use the keyboard to choose the command for the type of object you selected — for example, on the Format menu, choose AutoShape or Text Box — and then select the Size tab. • Select the options you want. Copying the Attributes of Drawing Objects • Select the drawing object with the attributes you want to copy. (If you select an AutoShape with attached text, you copy the look and style of the text as well as the attributes of the AutoShape.) • Press CTRL+SHIFT+C to copy the object attributes. • Press the TAB key or SHIFT+TAB to select the object you want to copy the attributes to.